I’ve added a new favorite item to my “must pack” list for traveling! It’s what I’d call a “seat belt pillow” or maybe “one pillow you can actually use in the car and won’t get lost”. It’s a simple sewing project that doesn’t take oodles of materials (except filling, which it uses a lot of). The best part is that it really is comfortable, even in our van, which doesn’t seem to usually fit with normal car accessories. Another great thing is that I can leave it tied to the seatbelt, so it doesn’t have to find a home when I’m not using it!
Here’s what you need to make your own Seat Belt Pillow
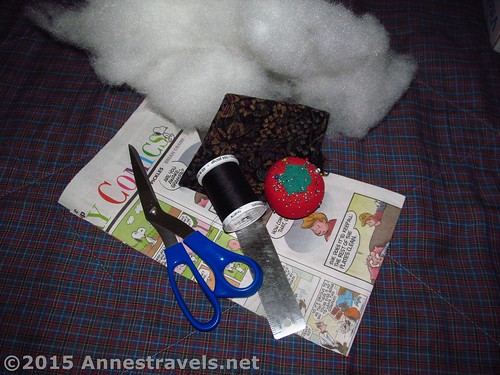
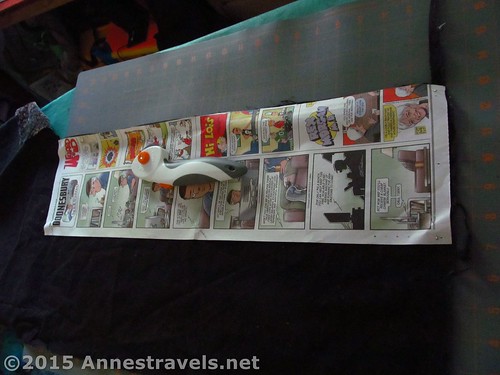
Two pieces of cloth, cut to 22.25”x5”, or whatever works best to you – this is a bit flexible. I made a pattern, then cut out the two pieces of fabric. The fabric should be soft, durable, and comfortable for sleeping on.
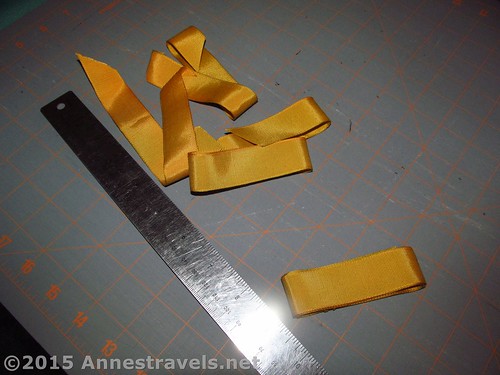
Four pieces of ribbon, about 9” each
Lots of polyester fiberfill, or other stuffing
Matching thread
Sewing supplies – straight pins, scissors (or a rotary cutter & mat), hand needle, and sewing machine (optional, but makes your life easier than hand sewing everything!)
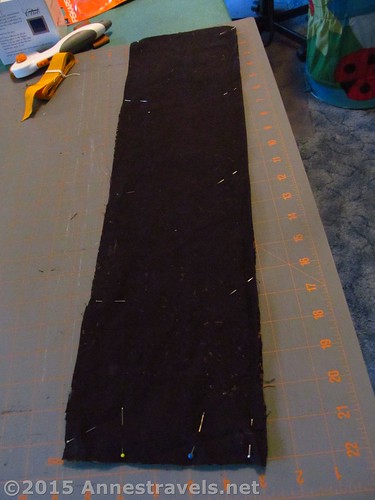
Cut out the cloth, then pin right sides together.
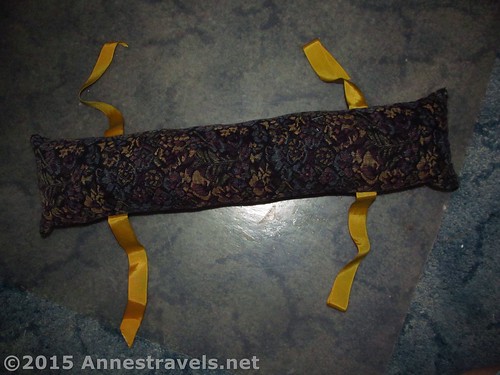
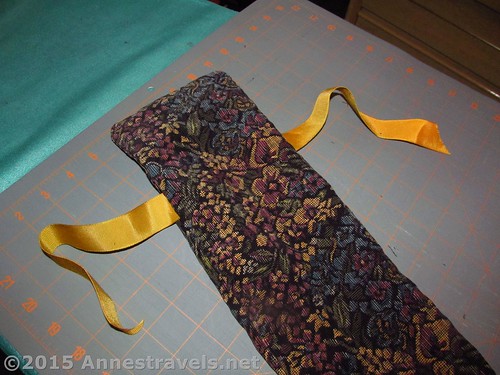
Now slip a piece of ribbon between the two pieces of fabric – you want one end of the ribbon to be lined up with the long edge of the fabric, with the rest of the ribbon inside the fabric rectangles. Pin in place 3” to 4” from the short end of the rectangle. Repeat on the opposite side of the fabric rectangles, then add two more at the other end of the fabric rectangles. (See pictures.)
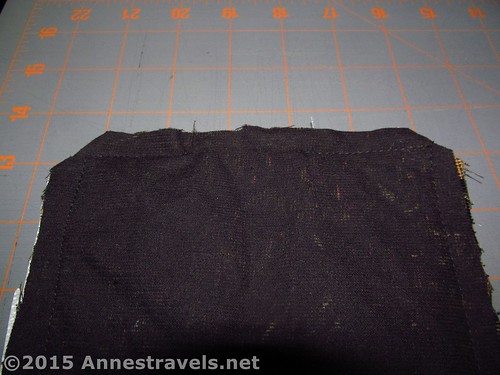
Using a sewing machine, stitch around two long sides and one short side of your fabric rectangle. You might want to sew part way from both sides of the last short side, but leave a space large enough to fit your hand inside comfortably.
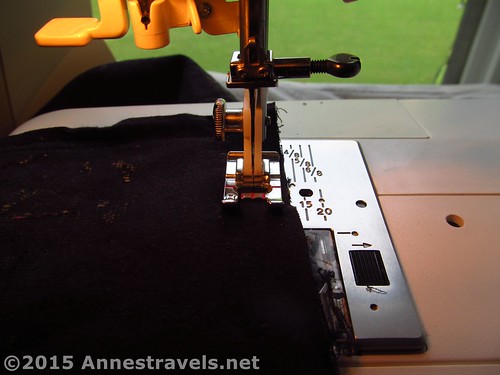
Sewing… I’ve heard it said, which is worse, knitting black yard or crocheting black yard? I’m not sure of the answer, but trying to pick out black thread stitches on black cloth isn’t much fun…
Cut triangles off the corners, then turn the seat belt pillow right side out. Stick your hand inside and push out the corners, if necessary.
Make sure everything looks ok before proceeding. If necessary, turn it back inside out and fix anything that didn’t work out.
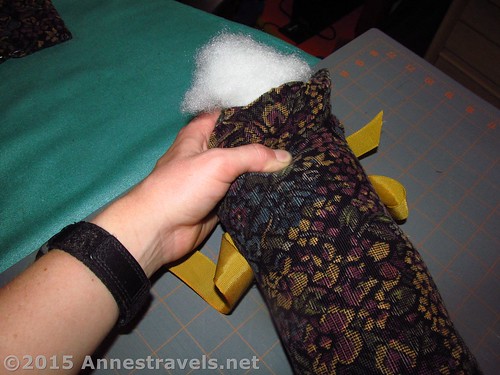
When everything looks good, you can begin stuffing. Take large handfuls of polyester fiberfill or your preferred stuffing and feed it through the hole you left open. Stick your hand inside to push it into the corners. Then feed in another handful of stuffing, again sticking your hand in to distribute the fiberfill (if you don’t, your pillow will be very lumpy). Continue in this manner until the pillow is firmly stuffed, all the way up to the hole in the short end.
Turn the raw edges of the hole inside; pin if you can. Then hand stitch the hole closed.
Ta-da! Done!
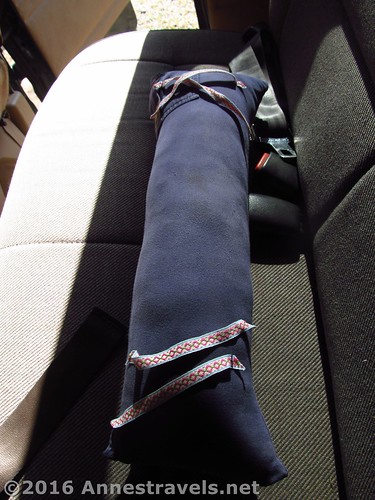
Another seat belt pillow I made – this one was created from the pant legs of an old pair of pants I wore, well, when I was a whole lot younger and smaller…
This Week’s Featured Product!
Tutorial too complicated or too time-consuming? This is a slightly different design, but works similarly for children or adults!






Pingback: The Top 15 Pages on Anne's Travels in 2016 - Anne's Travels