Early this year, my Canon PowerShot SX150 camera wouldn’t keep the date and time stamp. Whenever I turned on the camera, I had to reset the date and time if I wanted it to be right.
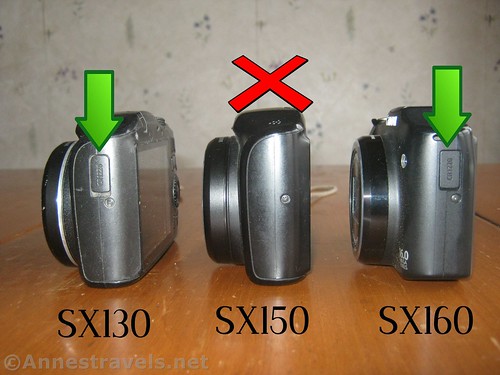
I ignored the problem for several months, and all my photos came out saying they had been taken on January 1, 1980 (funny how good digital was back then!) I finally decided to do something about it, but unlike the SX130 and SX160, the SX150 doesn’t have a little battery case on the side of the camera.
Looking it up, most of the forum posts said it was nearly impossible, or at least, not possible without disassembling the camera and ordering a new part directly from Canon – the SX150 doesn’t use a button battery like the SX130 and SX160 (which both take a CR 1220 button battery).
But actually, there’s an easy way to recharge the internal battery. It’s so easy – much easier than installing a button battery!
What You’ll Need
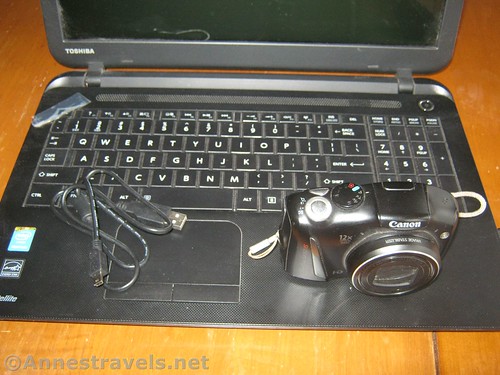
Your Canon PowerShot SX150 Camera
The USB cord that came with your camera
A computer with a USB port
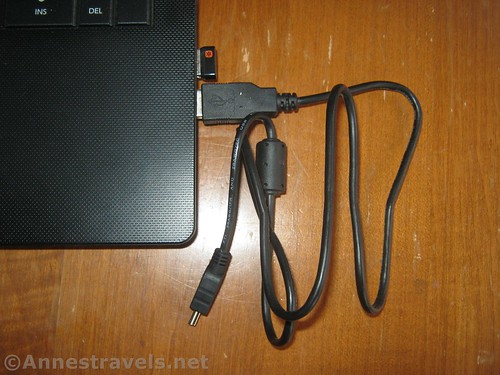
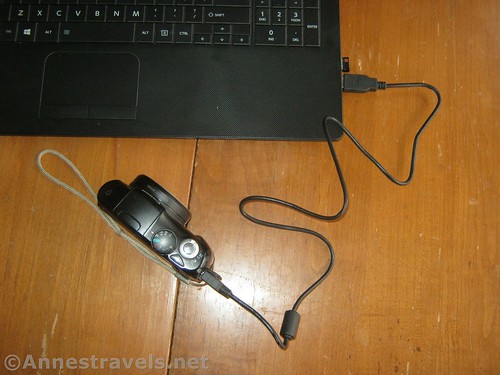
1. Take the USB cord that came with your camera (mine was still sealed in plastic) and plug it into your computer.
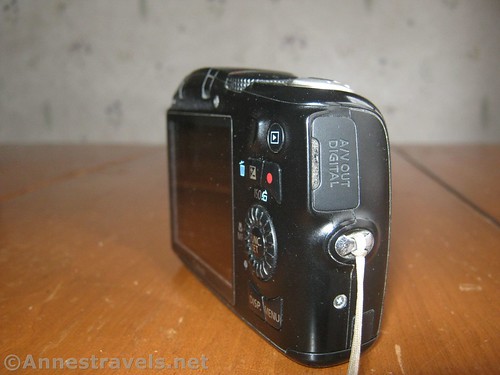
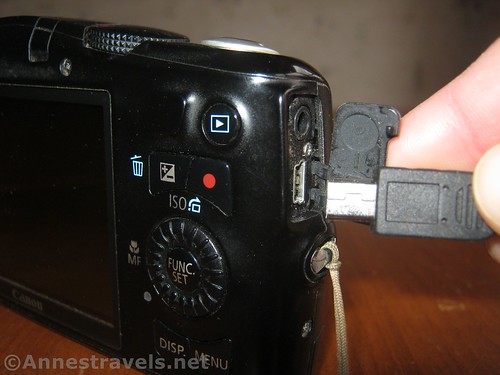
2. Locate the A/V Out Digital flap on the side of the camera. Open up the flap and put the small end of the USB cord into the proper hole.
3. Allow the camera to charge for several hours.
4. Unplug the camera from the cord. Reset the date and time (see below). Your camera should now keep the date and time stamp!
How to Set the Date and Time Stamp
What you’ll need:
Your Canon PowerShot SX150 Camera
A watch or clock with the correct current time
Knowledge of the current date
Knowledge of your current time zone (more or less where it is in the world)
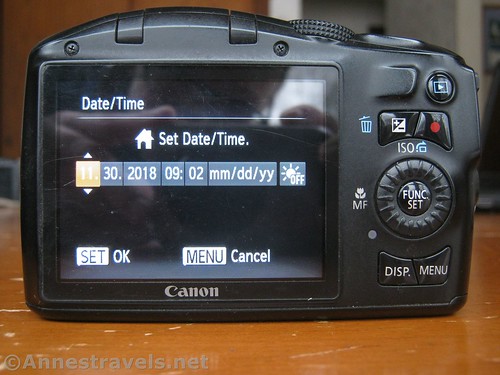
1. Turn on the camera. Within a few seconds, a screen will flash indicating that you need to set the date and time. If you don’t want to set the time, you can hit the “Menu” button on the back of the camera, and your pictures will come out with the time stamp “January 1, 1980”.
1.5. (If you want to set the date and time, but the screen doesn’t come up automatically, turn on the camera. Push the “Menu” button on the back of the camera, then push the right of the scroll wheel to get to the “tools” menu. Turn the scroll wheel clockwise to the “Time Zone” or “Date, Time…” options to change these – you’ll need to scroll until the desired option is illuminated orange, then push the “Function Set” button in the middle of the scroll wheel (you will need to push the “Function Set” button twice to set the time zone). Then follow the guidelines below.)
2. Use the scroll wheel to the right of the screen to adjust the month, day, year, and time. To toggle between each, push the right side of the wheel.
3. Push the “Function Set” button (in the middle of the wheel).
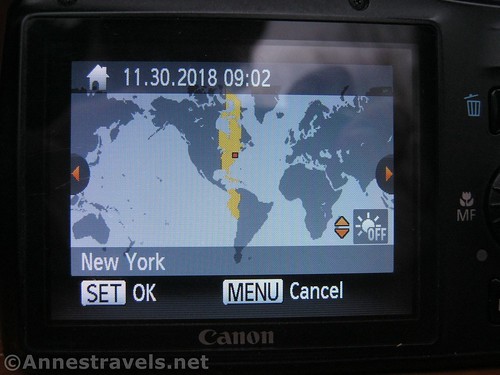
4. Use the scroll wheel to adjust the time zone. I’m in Eastern Time, so New York is listed, and all the areas in Eastern Time are highlighted yellow.
5. Push the “Function Set” button (in the middle of the wheel).
6. Your date and time stamp should be saved, and your camera is ready to go out and take some pictures!
Note: If this doesn’t work, you may need to replace the battery. You might want to visit a camera repair shop for that.


