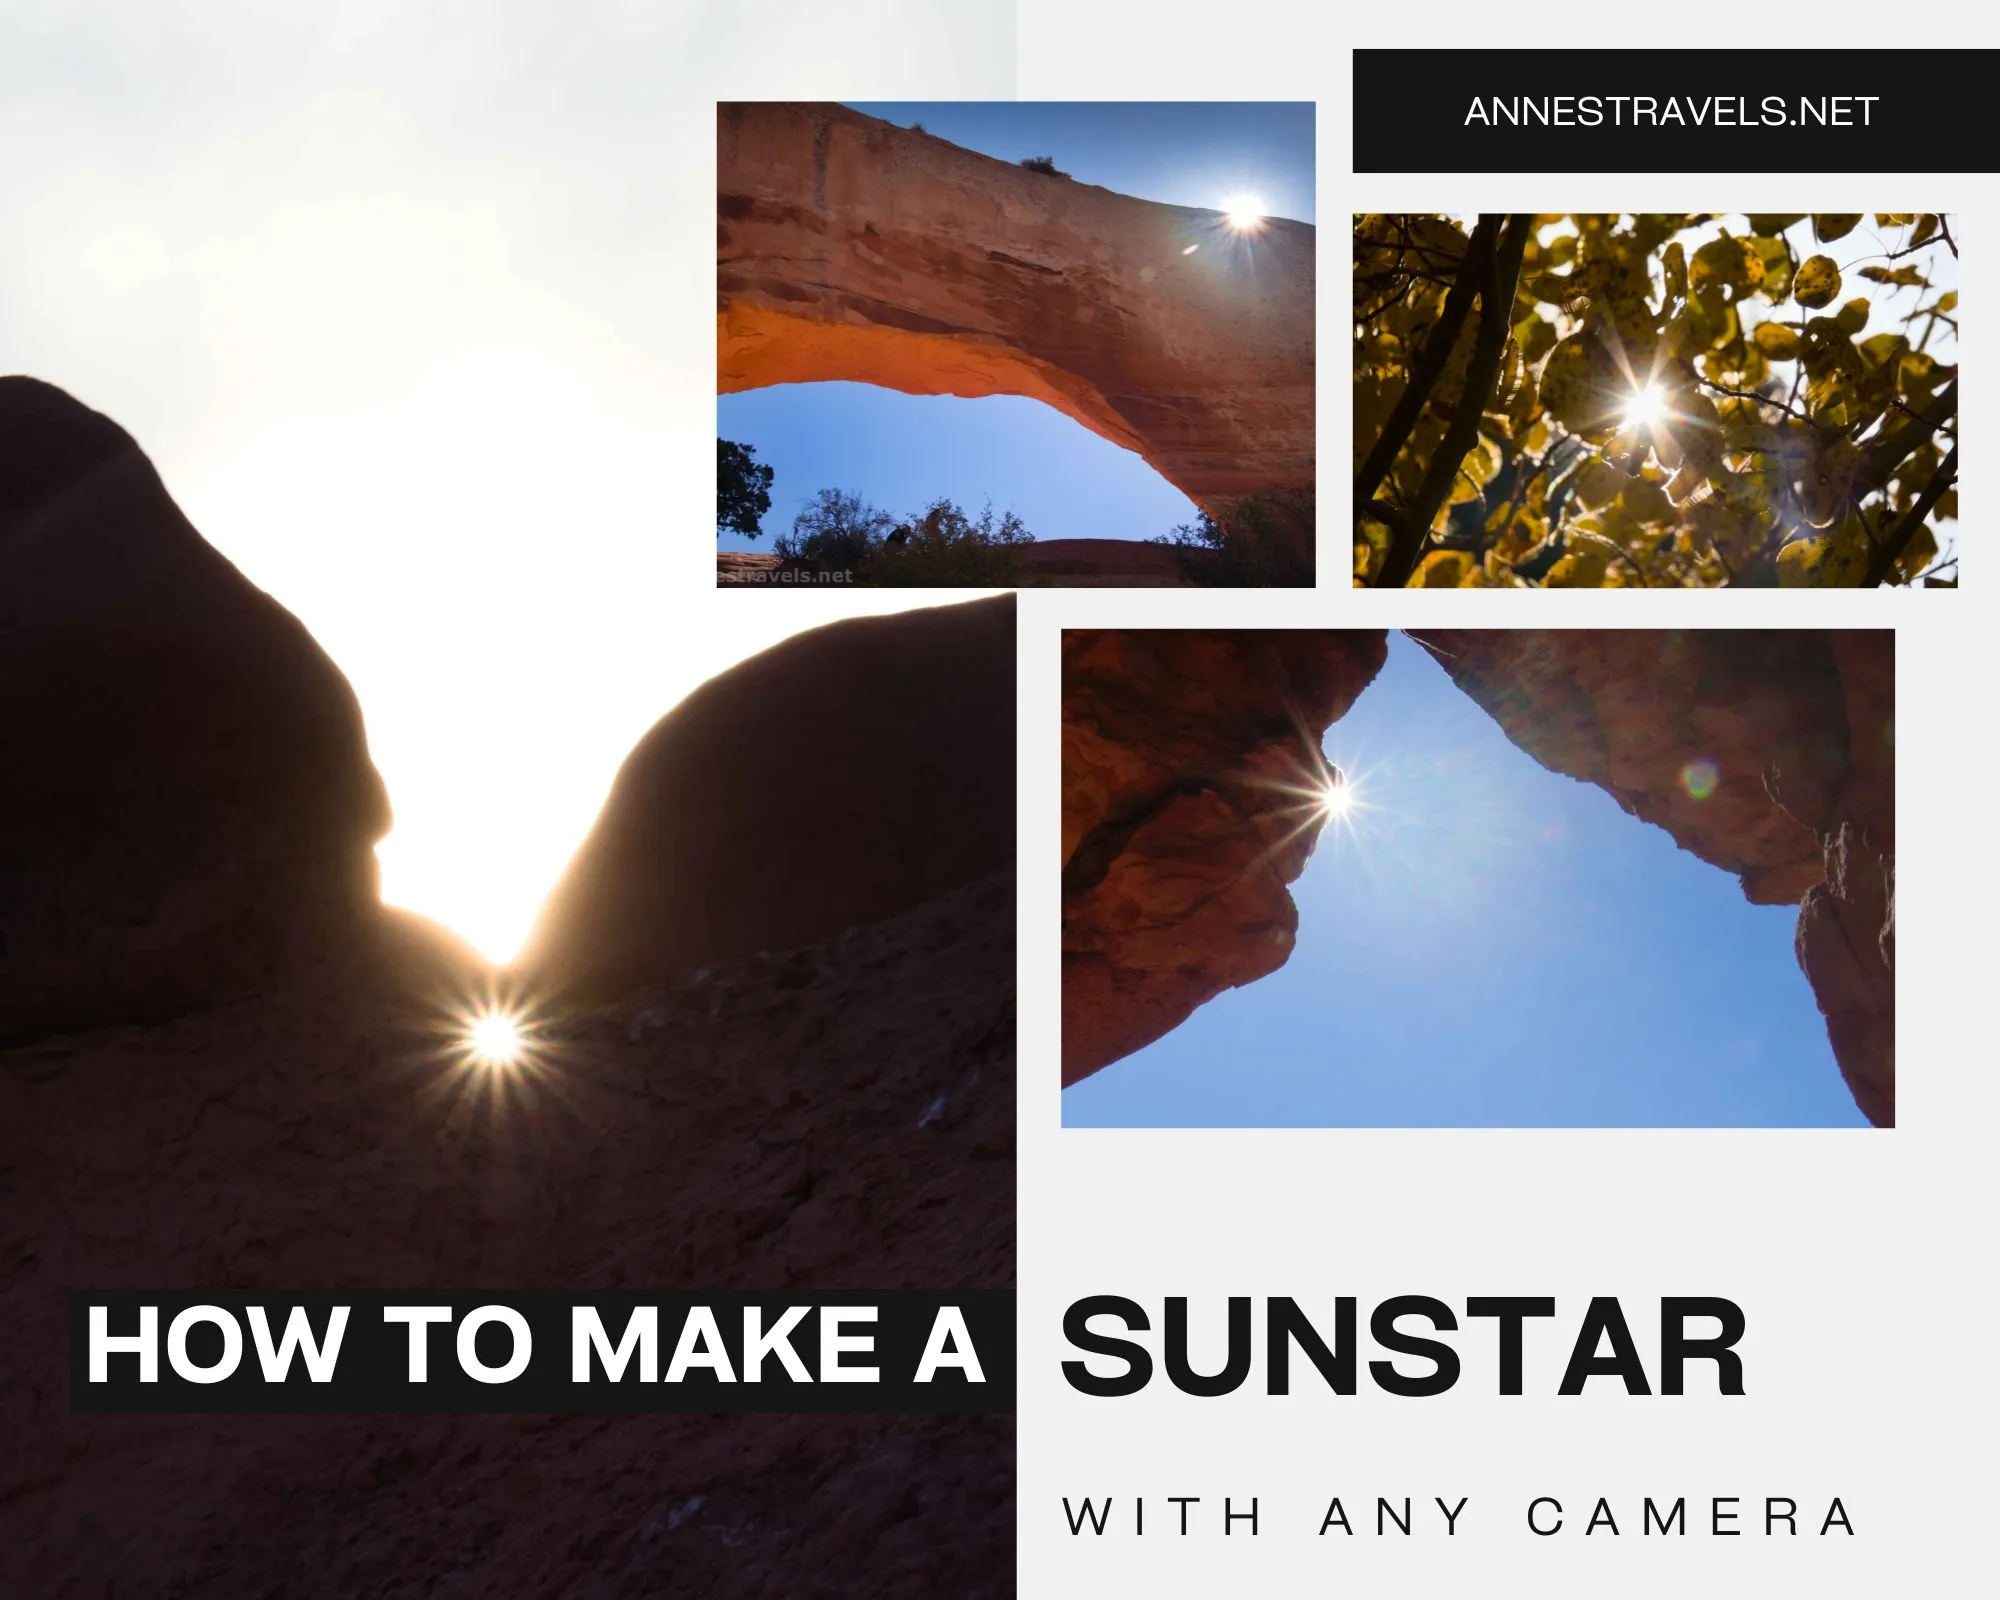
Have you ever seen a photo of the sun, and the sun seems to have flashing light beams coming out of it, almost like a star? In photography, this is known as a “sun star” – and while it looks complicated, it’s actually not that difficult to create one, yourself! It’s even possible to make a sun star with a point-and-shoot type camera (think a phone), though it’s easier if you have some manual control of the aperture (and especially if you have an aperture above f/14). You don’t even need a special lens! In this post, I’d like to walk you through the steps of taking a sun star photo, and at the end, I’ll give some tips for getting the best sun star photos.
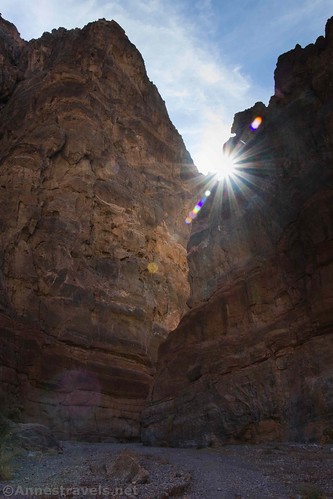
How to Make a Sun Star
1. Choose an opaque surface that can block the sun for you. A rock, building, side of an arch, canyon wall, or tree all work well.
2. Position yourself so that the sun is just barely concealed behind your opaque surface.
3. Set up your camera. If possible, use an aperture at f/14 or above and a very short shutter speed. (I’ve had some success with cameras that only have manual controls up to f/8, and that has worked, too, if not quite so well.) If you have no manual controls, you’ll just have to take what the camera gives you. If you’re not sure if your phone has manual controls, look up the model online.

4. Focus the camera on your opaque surface. If you can tell the camera where to focus, or set up manual focus, do that now.
5. Move the camera so that the sun just barely peeks out from behind your opaque surface. At the same second, push the shutter button (take a photo).
6. Review the photo. Were you able to catch a sun star?
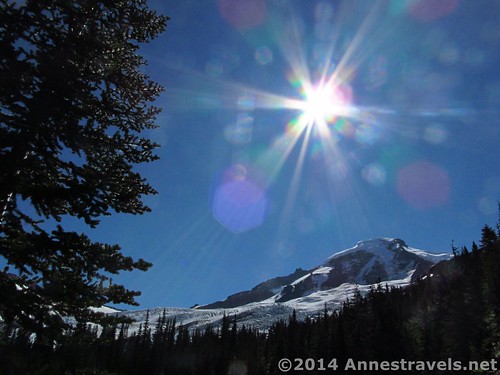
Tips for Taking Sun Star Photos + Trouble Shooting
1. You may find that you need to try several times before you can capture a star. That’s ok – just delete your failed shots. It can take practice to figure out exactly how much of the sun needs to peek out from behind the surface to make a star.
2. If all you’re seeing in your photos is a huge washed-out glow, chances are that you need to take the photo with the sun more behind the opaque surface. It’s also possible that your aperture is too low (f/5.6, for example).
3. If you get the tiniest glow – but no sun star – try taking the photo with the sun peeking out from behind the opaque object just slightly more.

4. Sun stars are easiest to capture in the early morning or late afternoon/evening due to the lower angle of the sun. That said, there are sun star photos in this post that were taken closer to noon.
5. Sun stars look best when you can set the aperture over f/14 (f/16 and higher is even better).
6. If possible, use a very short shutter speed. Repeated or elongated exposure to the sun can damage your sensor. You’re much less likely to create damage with a short shutter speed (think about your eyes – you’re less likely to damage them by blinking at the sun than by staring into the sun).
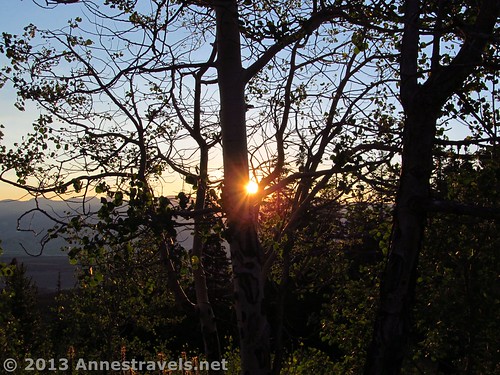
7. Placing the sun just barely behind an opaque surface isn’t 100% necessary, but it’s certainly the easiest way I’ve found to make a sun star.
8. You may end up with little dots (probably quite colorful) in your photo. This is one of two things: lens flare (a scattering of the light when it enters the lens elements) or you have dust on your lens (more likely my problem!) You may also get a ring around the sun star – again, this is from the lens and isn’t a malfunction or failure on your part.
9. Sometimes, the sun just doesn’t want to cooperate. Don’t give up – there’s still time to try again another day!

Today’s Featured Product!
Looking to take your phone photography to the next level? You might enjoy this book that covers the basics and much more for your Android or iPhone. Buy your copy here.


